How to Add a Watermark to Your Photos (Text or Logo, Free)
Add a Watermark — free & instant
Stamp your text or logo onto a photo with full control over placement and opacity, right in your browser. Free, no upload, no sign-up.
You share a photo online and, a week later, someone else is using it as their own — no credit, no permission. A watermark is the simplest way to stop that: your name, your logo or your website stamped across the image so it cannot be quietly passed off as someone else's. This guide shows you how to add a watermark — text or a logo — to your photos for free, in your browser, and how to stamp a whole batch at once.
We will cover the fastest way, when to use text versus a logo, the placement and opacity that actually protect a photo without ruining it, and how to watermark many images in one go.
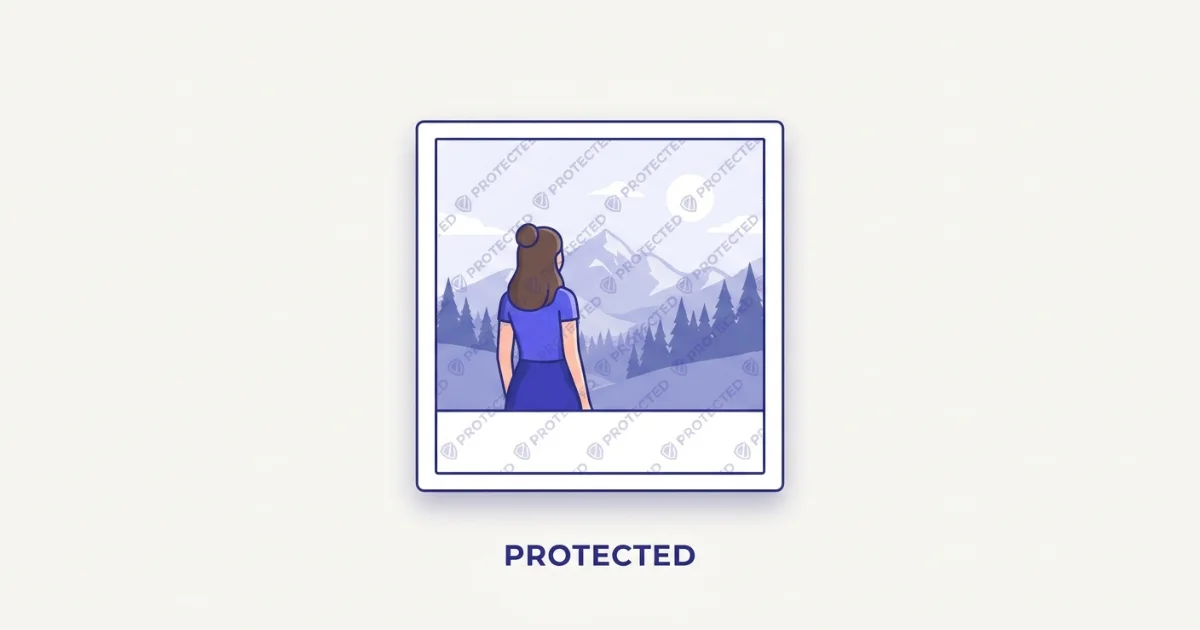 A watermark stamps your name or logo onto the image so it cannot be passed off as someone else's.
The fastest way: add a watermark in your browser
This needs nothing installed and works the same on a phone or a laptop.
- Open the watermark tool in any browser.
- Drop your photo in.
- Add your watermark — type your text, or upload a logo (a transparent PNG looks best).
- Set the position, size and opacity, then download.
It all runs inside your browser, on your own device, so the photo is never uploaded — which matters when it is a client's image or unreleased work you are protecting. Load the tool, switch your Wi-Fi off, and it still works, because the file never left your machine.
 Type text or drop in a logo, set the position and opacity, and download.
Text or a logo — which watermark?
Both work; they just suit different needs.
A text watermark is your name, your website, or an @handle typed straight onto the image. It is instant, needs no file, and is perfect for a quick copyright line or social handle.
A logo watermark is your brand mark dropped onto the photo — more polished, and the right choice if you have a logo you want people to recognise. Use a PNG with a transparent background so only the mark shows, not a white box around it.
You can combine the two — a logo in the corner and a small copyright line — but keep it restrained. The watermark should protect the photo, not compete with it.
 Text for a quick copyright line; a transparent PNG logo for polished branding.
The placement and opacity that actually protect a photo
This is where most people get it wrong in one of two directions — a watermark so faint it is useless, or so heavy it wrecks the image. The sweet spot:
- Opacity around 30 to 50 percent. Clearly visible, but you can still see the photo through it. Too transparent and it is easily cloned out; too solid and it ruins the shot.
- Placement depends on your goal. A small mark in a corner is subtle branding, but it is trivial to crop out. For a photo you genuinely want to protect from theft, put the watermark across the centre or over the main subject, where it cannot be cropped away without destroying the image.
- A tiled or diagonal repeat — the mark stamped several times across the whole photo — is the strongest protection of all, because there is no way to remove it without covering the picture.
- Size: big enough to read, small enough that the photo still speaks for itself.
Match the strength to the value: a corner logo for everyday social posts, a centred or tiled watermark for proofs and portfolio images you are actively protecting.
 A corner mark is easy to crop; a centered or tiled watermark cannot be removed.
Watermark a whole batch at once
If you shoot or sell in volume — a photographer sending proofs, a seller with a catalogue of product shots — stamping each image by hand is a waste of an evening. Watermark the whole set in one pass instead, with the same mark, position and opacity on every image. On VisualConvert the free tool watermarks images one at a time; Pro adds batch watermarking for up to twenty at once, which is the real time-saver for a full shoot or product line.
One rule whichever way you do it: keep an unwatermarked master of every photo. Watermark a copy, never your only original — you will want the clean version for prints and licensed use.
How to watermark photos on any device
Browser, any device. The watermark tool is the one I use — text or logo, full control over placement and opacity, and nothing uploaded. It works the same in Chrome, Edge, Safari and Firefox, on a computer or a phone.
Phone. Open the browser tool on the phone; the built-in Photos apps do not add a real watermark. It works the same on the smaller screen.
Photoshop or Canva. Both give you fine control if you are already designing there, but they are more steps than dropping a photo into a preset for a quick copyright line, and neither batches as simply.
Common mistakes
Too faint. A barely-visible watermark is easily cloned or blurred out. Keep it readable, around 30 to 50 percent opacity.
Corner-only on valuable photos. A corner mark is cropped off in seconds. For anything you are protecting, put it where it cannot be removed — centred or tiled.
Watermarking your only copy. Always keep a clean master and stamp a duplicate.
A logo with a white box. Export your logo as a transparent PNG so only the mark shows on the photo.
Who uses watermarks
Photographers stamping proofs before a client has paid; online sellers protecting product photos from being reused by competitors; designers and artists guarding portfolio work; and anyone sharing original images who wants credit to travel with the picture.
Keeping your photos private
The images people watermark are often unreleased or client work. Most online watermark tools upload every photo to their servers to do the job, leaving a copy behind. A browser-based tool stamps the watermark on your own device and uploads nothing, so an unpublished photo stays yours while you protect it — and it costs you nothing in speed.
Last word
A good watermark protects your work without spoiling it: pick text for a quick copyright line or a transparent PNG logo for branding, set the opacity to around 30 to 50 percent, and place it where it cannot simply be cropped away. Keep a clean master, and batch the whole set when you have more than a few.
When you have photos to protect right now, open the watermark tool, drop one in, add your text or logo, and download it in a couple of clicks. It is free, it works on any device, and your photos never leave the browser. Preparing images for social while you are at it? The guide to resizing for social media has the current sizes.