How to Reduce Image Size to 100KB (Without Losing Quality)
Compress Image to 100KB — free & instant
Drop a photo, type a target size, and download it just under your limit at the best quality that fits. Free, in your browser, no upload.
You are filling out an online form — a job application, an exam registration, a government portal — and it stops you cold: "Photo must be less than 100KB." The photo from your phone is 4MB. You try to upload it anyway, it gets rejected, and now you are stuck. That single upload limit is the most common reason people need to get an image under 100KB, and it takes about thirty seconds to fix. This guide shows you how to reduce any photo to under 100KB without wrecking how it looks — for a form, an upload, or a faster website — on your phone or computer, free, and without sending your photo to a stranger's server.
We will cover the fastest way, the exact steps for a form photo (and a signature under 20KB, which forms often ask for too), why a smaller file does not have to mean a worse-looking photo, and how to do it on any device.
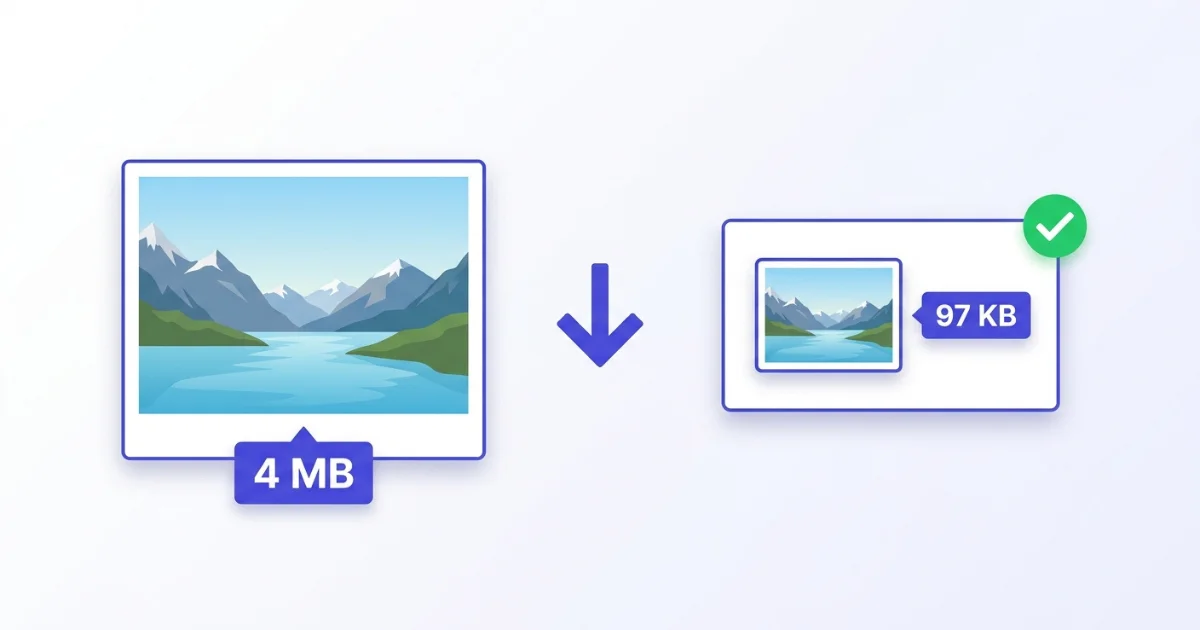 The same photo at 4MB and at 97KB — the form accepts the small one, and they look identical.
The fastest way: compress to an exact 100KB in your browser
This needs nothing installed and works the same on a phone or a laptop.
- Open the compress to 100KB tool in any browser.
- Drop your photo in.
- Type your target — 100, or 95 to leave a little headroom under the limit.
- Download the result. It comes out just under your target, at the best quality that fits.
It works because the tool does not ask "what quality do you want?" — it asks "what size do you need?" and finds the answer for you. And it runs inside your browser, on your own device, so the photo is never uploaded. That matters when the image is an ID photo, a signature, or a personal document headed for a government form. You can check it: load the tool, turn your Wi-Fi off, and compress anyway — it still works, because the file never left your machine.
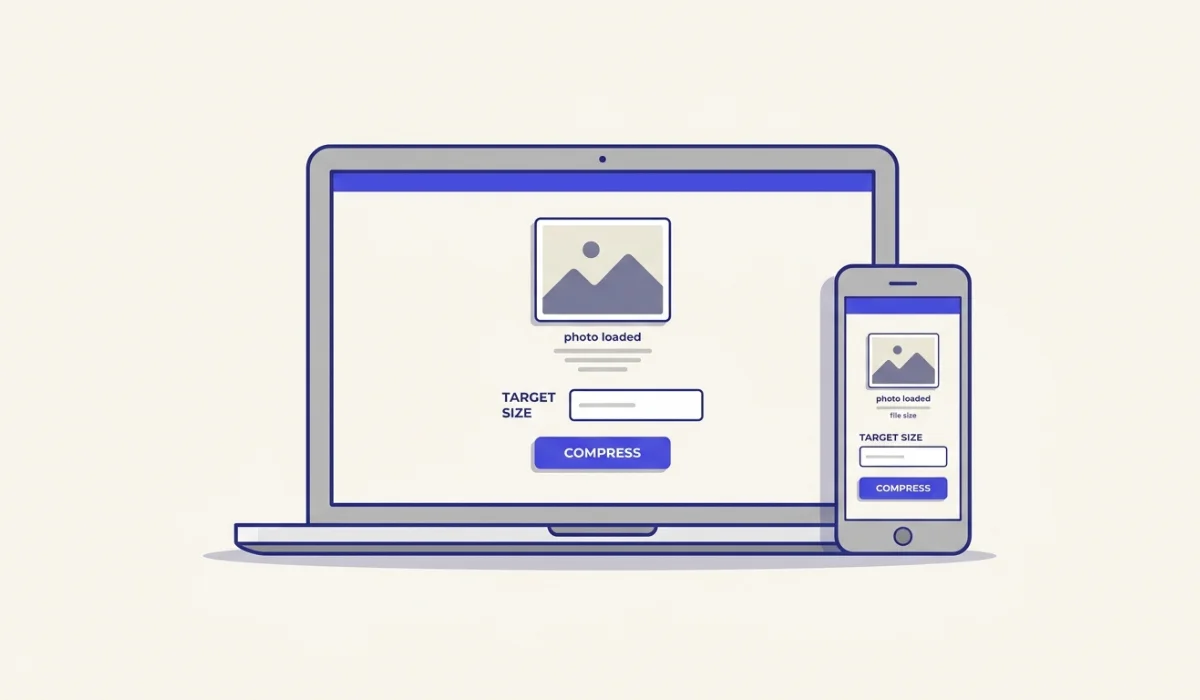 Set the target size and download — the tool lands just under your limit.
Getting a photo under 100KB for an exam or job form
This is why most people are here, so let us do it properly. Application and exam portals — job sites, university admissions, government exams, banking KYC — almost always cap the photo upload, and they are fussy in three ways at once:
- File size: usually under 100KB, sometimes 50KB or 200KB, and a signature is often capped much smaller, around 20KB.
- Dimensions: many forms want an exact pixel size, such as 200 x 230 pixels for a photo or 140 x 60 for a signature.
- Format: most require JPG/JPEG. A PNG or HEIC upload gets rejected even if the size is right.
Here is the reliable order of operations:
- Read the form's exact requirement first — note the size limit, the pixel dimensions if it gives any, and the format. Guessing here is what causes rejected uploads.
- Fix the format. If your photo is a HEIC from an iPhone, convert it to JPG first with the HEIC to JPG tool. A PNG photo should also become JPG.
- Resize to the pixel size the form asks for with the image resizer. If it does not specify one, a photo around 400 to 600 pixels tall is plenty for a passport-style headshot.
- Compress to just under the limit. Set the exact-size compressor to 95KB for a 100KB cap, and download the JPG.
- Upload it. It fits on the first try.
For the signature under 20KB: a signature is simple black lines on white, so it compresses to almost nothing. Scan it or photograph it against white paper, convert to JPG, resize it small, and set the compressor target to 20KB (or lower). If the form wants the signature as a clean, sharp line instead, keep it as a PNG — text and line art stay crisper as PNG, and a small signature PNG is already tiny.
If you also need a proper passport-sized headshot with the right background, the passport photo maker sets the dimensions and background for common country and exam formats.
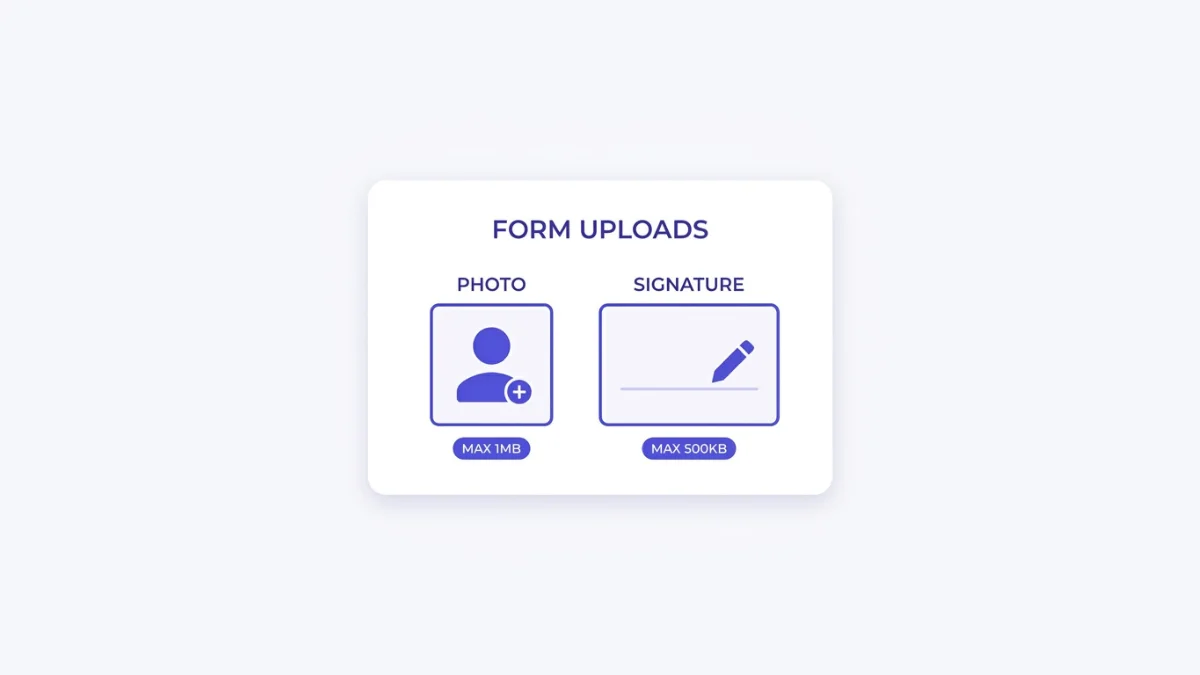 Forms cap the photo (often under 100KB) and the signature (often under 20KB), and usually want JPG.
Why your photo is so big, and why 100KB is still plenty
It helps to know what you are actually shrinking. A modern phone camera captures twelve megapixels or more — twelve million separate colour values in one photo. Stored with no compression, that is tens of megabytes. Formats like JPG and WebP work by dropping detail your eye cannot notice, which is why a good compressor can cut a file by 90 percent or more and still look the same.
So hitting 100KB is not about accepting a worse photo. It is about throwing away the waste — the extra pixels a small upload slot will never show, and the fine detail no one can see anyway. Done in the right order, the version that fits under 100KB looks identical to the one that did not.
The three steps that do the work
1. Start from JPG or WebP, not PNG
The format sets your ceiling before you compress a single kilobyte. The same photo saved three ways can differ in size by more than twenty times.
- JPG is the workhorse for photographs, supported everywhere, and the format most forms demand.
- WebP is usually 25 to 35 percent smaller than JPG at the same quality — great for websites, though many upload forms still will not accept it.
- PNG is the right choice for logos, screenshots, and signatures with sharp edges, but a terrible choice for a photo. A photographic PNG is often ten to twenty times bigger than the same image as JPG.
The rule: to squeeze a photo under 100KB, start from JPG. To make a website image small, WebP wins. Keep PNG for line art and signatures.
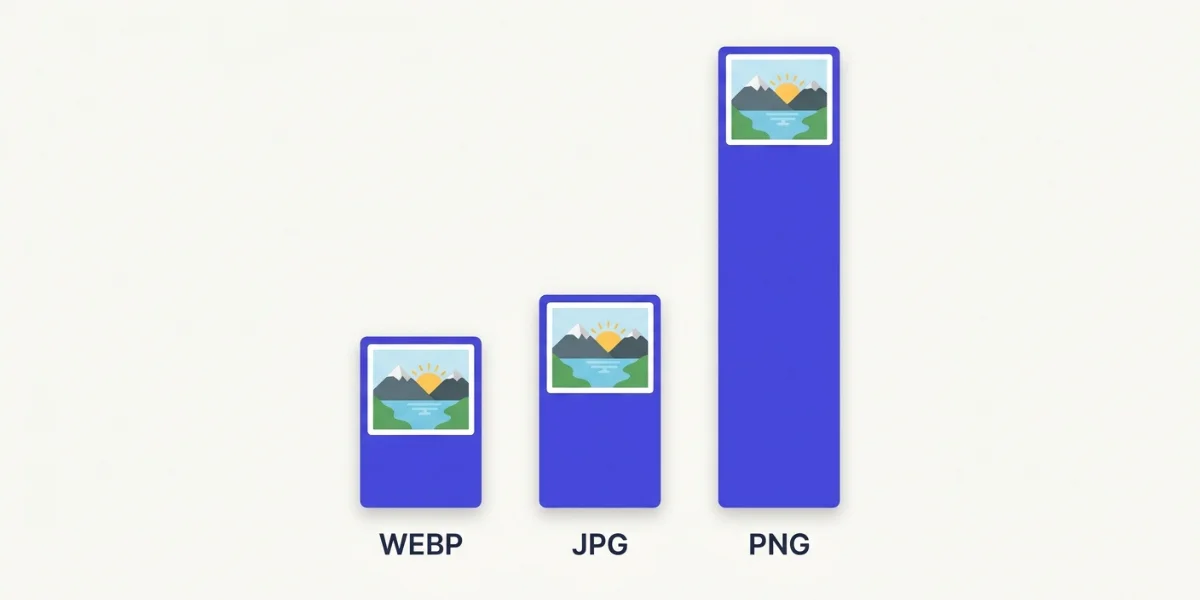 Format alone can mean a 20x size difference — start photos as JPG or WebP.
2. Resize before you compress
This is the step almost everyone skips, and it is the most effective one. File size follows the number of pixels, and pixels grow with the square of the dimensions. A 4000-pixel-wide photo has about four times the pixels of a 2000-pixel one and sixteen times a 1000-pixel one.
If the image will be shown small — a form photo, a profile picture, a thumbnail — resize it down to that size first. There is no point feeding a 4000-pixel photo into a slot 400 pixels wide. Sensible targets: a form or profile photo at 400 to 600 pixels, an in-article image around 1200 to 1600, a full-width banner at 1920. Resizing alone often gets you most of the way under 100KB with no visible change, because the extra pixels were never going to be seen.
3. Compress to an exact size, not a quality percentage
Dragging a quality slider, exporting, checking the size, and trying again is slow guesswork. An exact-size compressor removes it: it runs a quick binary search — encode, measure, adjust — until the file lands just under your target at the best quality that fits.
Drop your image into the compress to 100KB tool, type 100 (or 95 for headroom), and download. The result is guaranteed under your limit, and because it all runs locally your photo stays private.
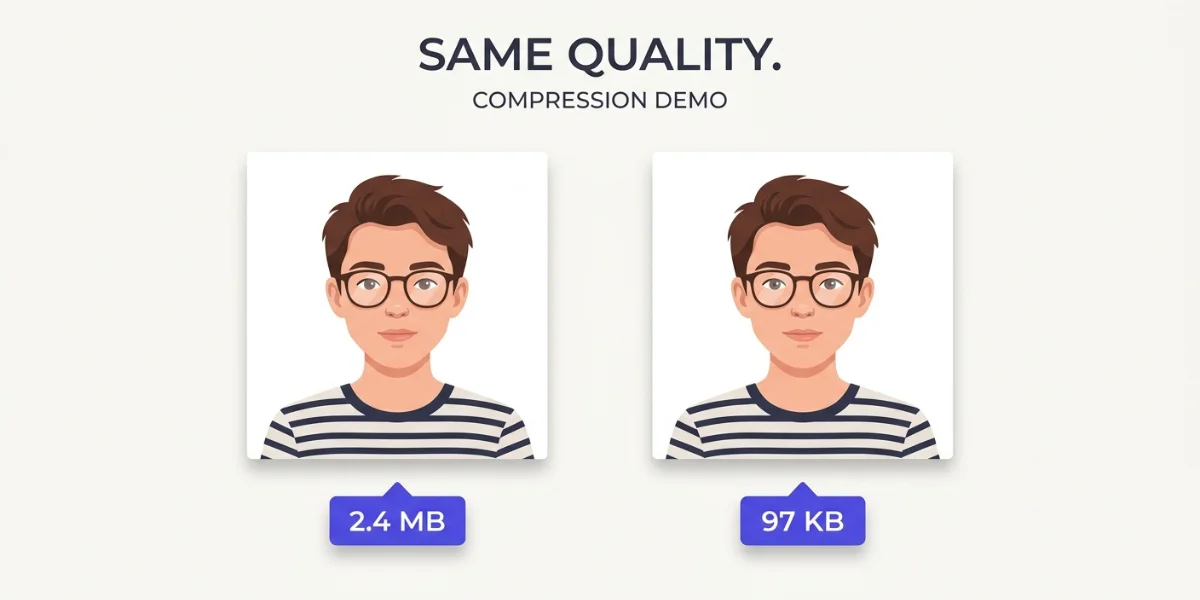 2.4MB on the left, 97KB on the right — identical on any normal screen.
Need a different size? 50KB, 200KB, or 20KB
The same method works for any target — just change the number.
- Under 50KB (some forms and older systems): use the compress to 50KB tool, or set the exact-size target to 50.
- Under 200KB (documents, higher-quality photos): the compress to 200KB tool leaves more quality headroom.
- A signature under 20KB: set the target to 20 in the image compressor — line art on white shrinks well below that.
- Any exact number: the under-100KB tool lets you type whatever the form demands.
How to reduce image size to 100KB on any device
Browser, any device. The 100KB compressor is the one I use — it targets an exact size, keeps the photo on your device, and works the same in Chrome, Edge, Safari and Firefox, on a phone or a computer.
iPhone and Android. Phones have no built-in way to hit an exact kilobyte target — the Photos app only crops and lightly compresses. Open the browser tool on the phone instead. One catch on iPhone: your photos are HEIC, which most forms reject, so convert to JPG first with the HEIC to JPG tool, then compress.
Windows. Paint can resize and re-save as JPG, but it cannot aim for a size, so you are back to guessing. The browser tool is faster and exact.
Mac. Preview's Export has a quality slider you nudge and re-check — workable, but trial and error. Targeting an exact size skips the guessing.
Photoshop. Export As or the legacy Save for Web both work, but the same quality setting produces wildly different sizes depending on the photo, so you end up re-exporting. Fine if it is already open; slower than a size target for a one-off.
Keeping it sharp
JPG compression is lossy, so strictly speaking you do lose some data — but done in the right order, the loss is invisible. Three habits keep it that way: resize first so there is more quality budget per remaining pixel; aim for roughly 85 percent quality, where a photo looks identical to the original on a normal screen; and check the result at 100 percent zoom, looking at edges, skin tones and flat areas where artifacts show up first.
If a stubborn photo will not drop under 100KB as a JPG without going blocky, and the destination accepts WebP, try WebP — it holds detail better at very small sizes. For anything that is mostly text or a signature, keep it as PNG so the edges stay crisp.
Common mistakes that keep you over the limit
Compressing a PNG photo directly. PNG refuses to throw away data, which is the opposite of what you want for a photo. Convert to JPG first, then compress.
Skipping the resize. Crushing a full-resolution photo to 100KB with quality alone pushes it so low that artifacts appear everywhere. Resize first, compress second.
Ignoring the form's exact spec. A rejected upload is usually not about size — it is the wrong format (PNG or HEIC instead of JPG) or the wrong dimensions. Match all three: size, pixels, and format.
Trusting Save for Web blindly. The same setting gives different sizes on different images, so you are guessing. A tool that targets an exact size removes the guesswork.
Keeping your photo private
The images people compress for forms are personal: ID photos, signatures, scanned documents. Most online compressors upload every file to their servers to do the work, leaving a copy on a machine you do not control. A browser-based compressor does the whole job on your own device and uploads nothing — no server copy, no account attached to your ID photo. For a government or bank form, that is worth more than a slightly faster server, and here it costs you nothing.
Last word
Getting an image under 100KB comes down to a short, repeatable routine: match the form's format (usually JPG), resize the photo to the size it will actually be shown at, then compress to an exact target just under the limit. Done in that order, the file that fits looks the same as the one that did not, and you clear the upload on the first try.
When you have a photo to get under 100KB right now, open the compress to 100KB tool, drop it in, type your target, and download. It is free, it works on any device, and your photo never leaves the browser. Doing a whole set of them? Batch convert the folder and download everything as one ZIP.