How to Convert TIFF to JPG (Free, No Upload, Any Device)
Convert TIFF to JPG — free & instant
Turn large .tiff and .tif scans into small, shareable JPGs, right in your browser. Free, no upload, no sign-up.
You scanned a document, or a print shop sent you the artwork, and you ended up with a TIFF. Then you tried to email it, upload it, or just open it to take a look, and nothing wanted to touch it. The file is enormous, your browser shows a blank page or a download prompt instead of the image, and the website you need it for rejects the format. The fix is to convert the TIFF to a JPG. This guide shows you how to do it free, on any device, without uploading a private scan to a stranger's server, and how to keep the image looking sharp while shrinking it from tens of megabytes down to a few hundred kilobytes.
TIFF is the format scanners and printers reach for because it holds maximum detail with no compression loss. That is exactly why it is awkward to share: the files are huge and most apps outside the print and photo world cannot display them. JPG is the opposite, a small file that opens everywhere. The rest of this article covers the fastest way to convert, why ".tif" and ".tiff" are the same thing, what you actually gain and lose in the switch, how to handle a multi-page scan, and how to convert on Windows, a Mac, a phone, or in Photoshop.
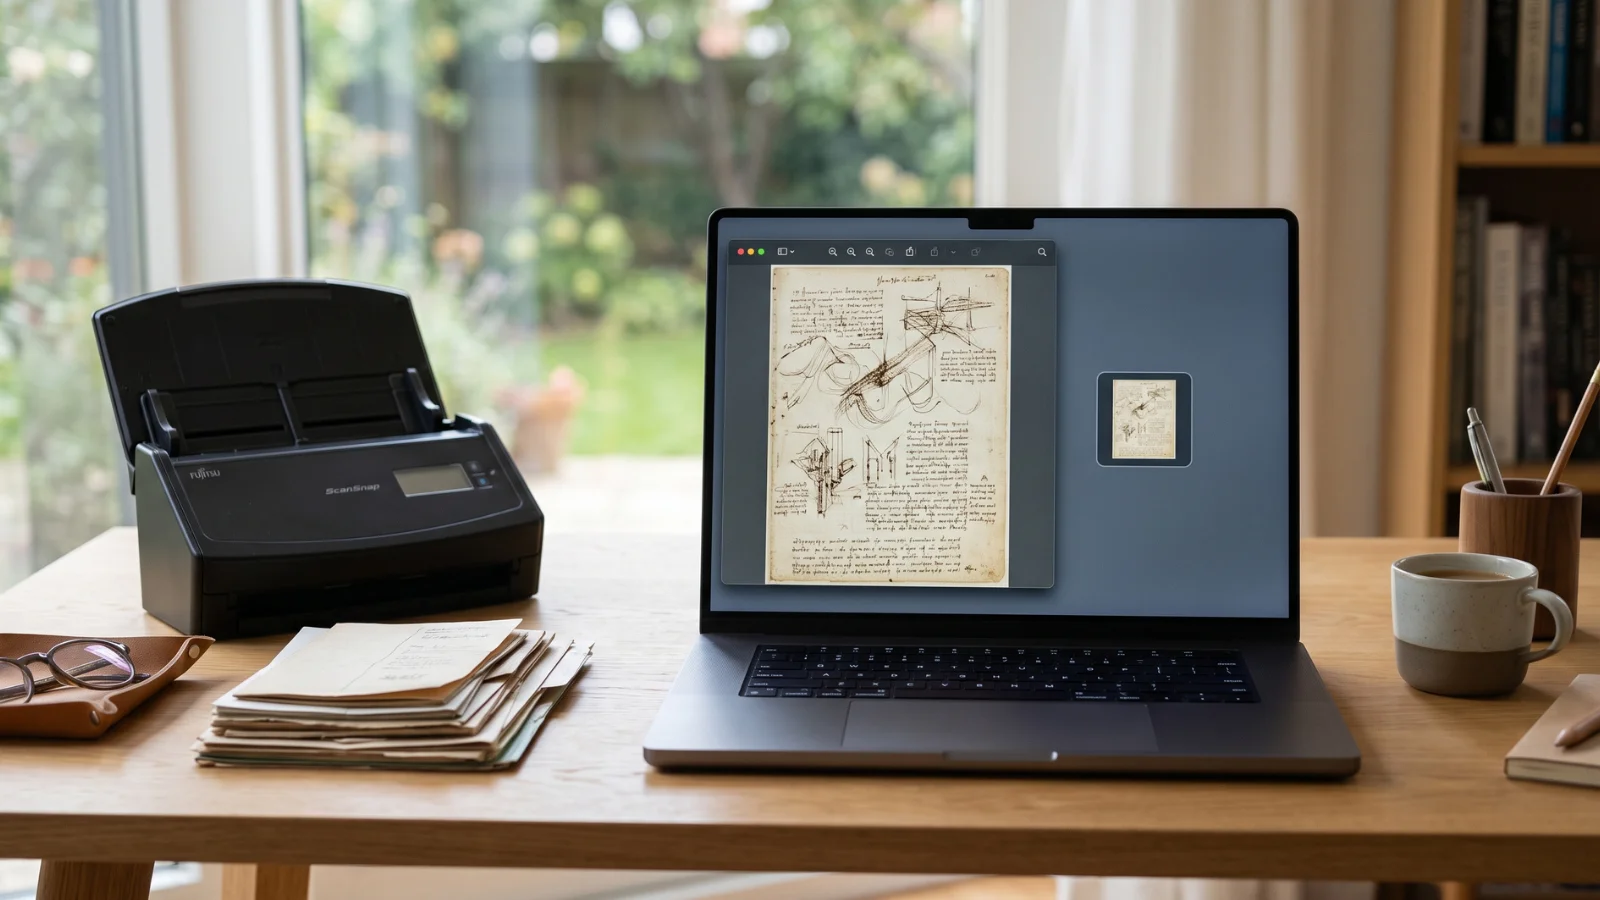 A TIFF holds every detail and is huge; a JPG is small and opens anywhere.
The fastest way: convert TIFF to JPG free, no upload
The quickest route needs nothing installed and works the same on a laptop or a phone.
- Open the TIFF to JPG tool in any browser.
- Drop your .tiff or .tif file in, or click to pick it from your files.
- The output is preset to JPG. Nudge the quality slider if you want a smaller file.
- Download the JPG, or convert a whole folder and grab them all as a ZIP.
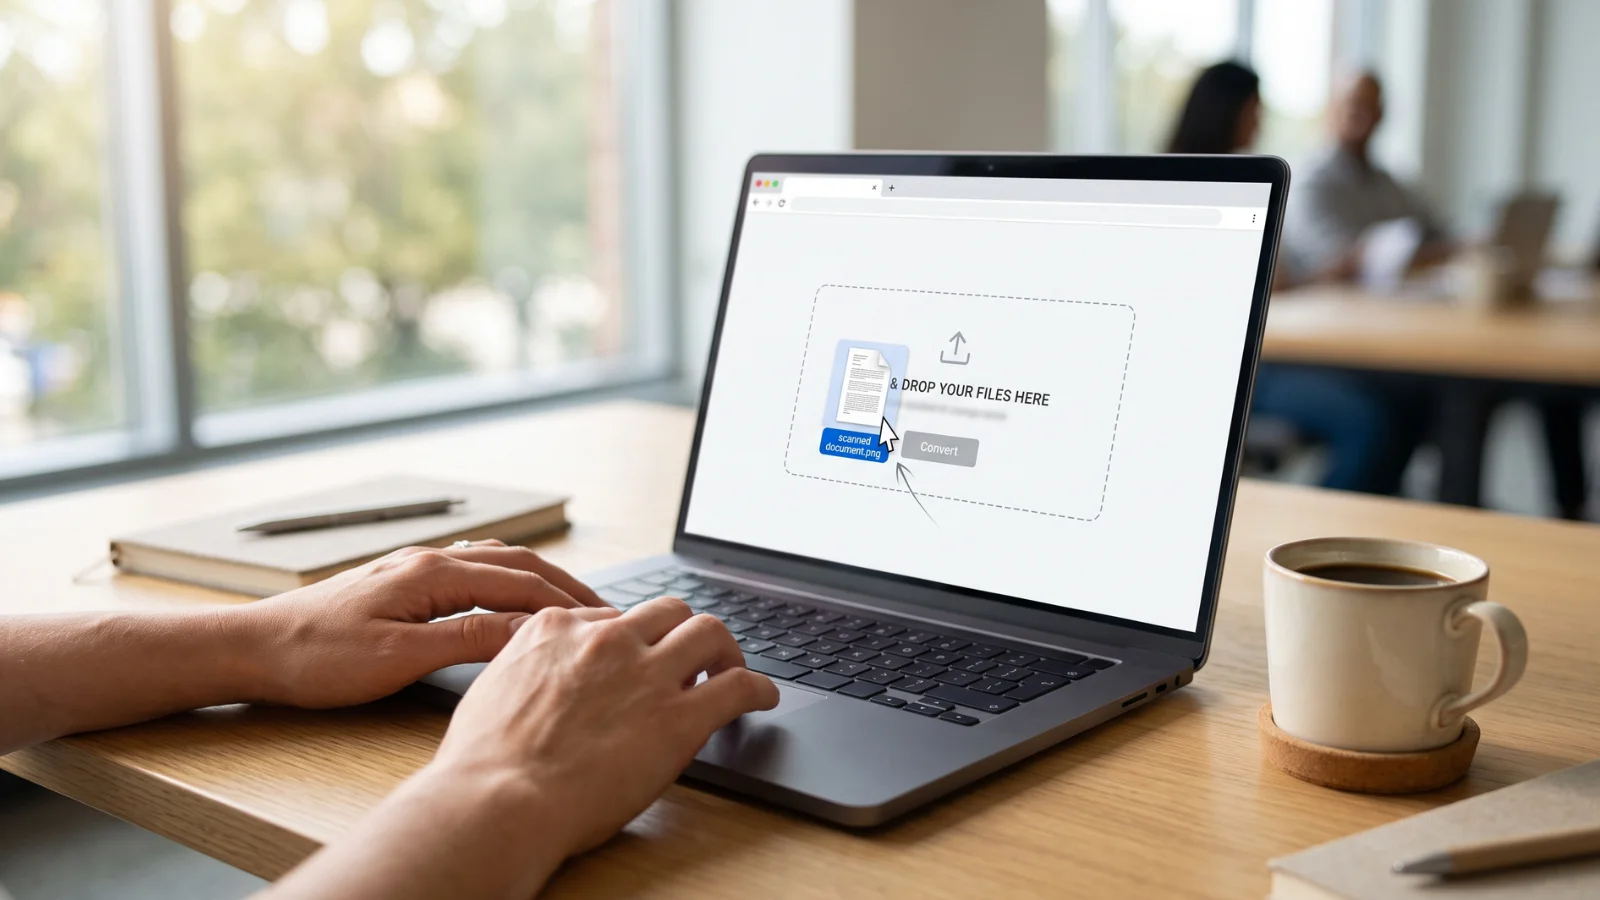 Drop the scan in and download a JPG. The file is never uploaded.
The reason I send people here first is not only speed. The conversion runs inside your browser, on your own device, so the TIFF is never uploaded anywhere. That matters more than it sounds, because the things people scan to TIFF are usually the private kind: a signed contract, a tax form, a medical letter, an ID, an architectural drawing. Most online converters send that file to their servers, do the work there, and hand back the JPG, which leaves a copy of your document on a machine you do not control. An in-browser tool reads the scan locally and never transmits it. You can prove it to yourself by turning your Wi-Fi off after the page has loaded and converting anyway. It still works, because the file never needed to leave your machine.
Is TIF the same as TIFF?
Yes, and this trips up more people than it should. ".tif" and ".tiff" are the same format with two spellings of the extension. The three-letter ".tif" is a leftover from old Windows, which limited file extensions to three characters; ".tiff" is the same thing written out. There is no difference in the file, the quality, or how you convert it. A tool that handles one handles the other, so if you have a ".tif" from a scanner and a ".tiff" from a design program, treat them identically.
 TIF and TIFF are two spellings of one format. Convert both the same way.
This is worth knowing because people search for the conversion both ways and assume they need a different tool for each. You do not. Whether your file ends in .tif or .tiff, the steps above are the same, and so is the result.
Why won't my TIFF open?
You double-click the file and, depending on your setup, you get a blank window, a download prompt, an error, or an app you did not expect. That is normal, and it is the main reason people convert TIFF to JPG in the first place.
Web browsers cannot display TIFF. Chrome, Edge, Safari and Firefox will happily show a JPG or PNG inline, but hand them a TIFF and they offer to download it instead of rendering it. That alone rules TIFF out for anything on the web. Most messaging and social apps reject it too. WhatsApp, Slack, Instagram, and the majority of web forms simply will not accept a .tiff upload, or they strip it. Even on the desktop, the default photo viewer on some Windows setups struggles with certain TIFF variants, especially compressed or multi-page ones.
JPG has none of these problems. It is the most widely supported image format there is, so a JPG opens in every browser, every phone, every app, and every upload box without a second thought. Converting is how you turn a file that only a few programs understand into one that everything does.
TIFF or JPG — what you gain and what you lose
Both are image formats, but they are built for opposite jobs, and it helps to know the trade before you convert.
TIFF is the archival format. It stores the image with no lossy compression, so every pixel the scanner captured is preserved exactly. It can hold very high bit depth, embedded colour profiles, layers, and multiple pages in one file. This is why print shops, archivists and professional photographers keep TIFF masters. The cost is size: a single high-resolution TIFF scan can be 20, 50, even 100 megabytes.
JPG is the sharing format. It uses lossy compression, which throws away detail your eye is unlikely to miss in exchange for a file a fraction of the size. It does not do transparency or multiple pages, and every time you re-save it, it compresses again and loses a little more. For a finished image you want to send, post or upload, none of that matters. For a working master you will edit repeatedly, it does.
The sensible workflow is to keep the TIFF as your original and convert a JPG copy to share. You lose nothing that way: the archival master stays untouched on your drive, and the JPG does the everyday work.
Will I lose quality converting TIFF to JPG?
A little, in theory, and almost never in a way you can see. JPG is lossy, so the conversion discards some data. But at a high quality setting, the result is visually indistinguishable from the TIFF while being dramatically smaller.
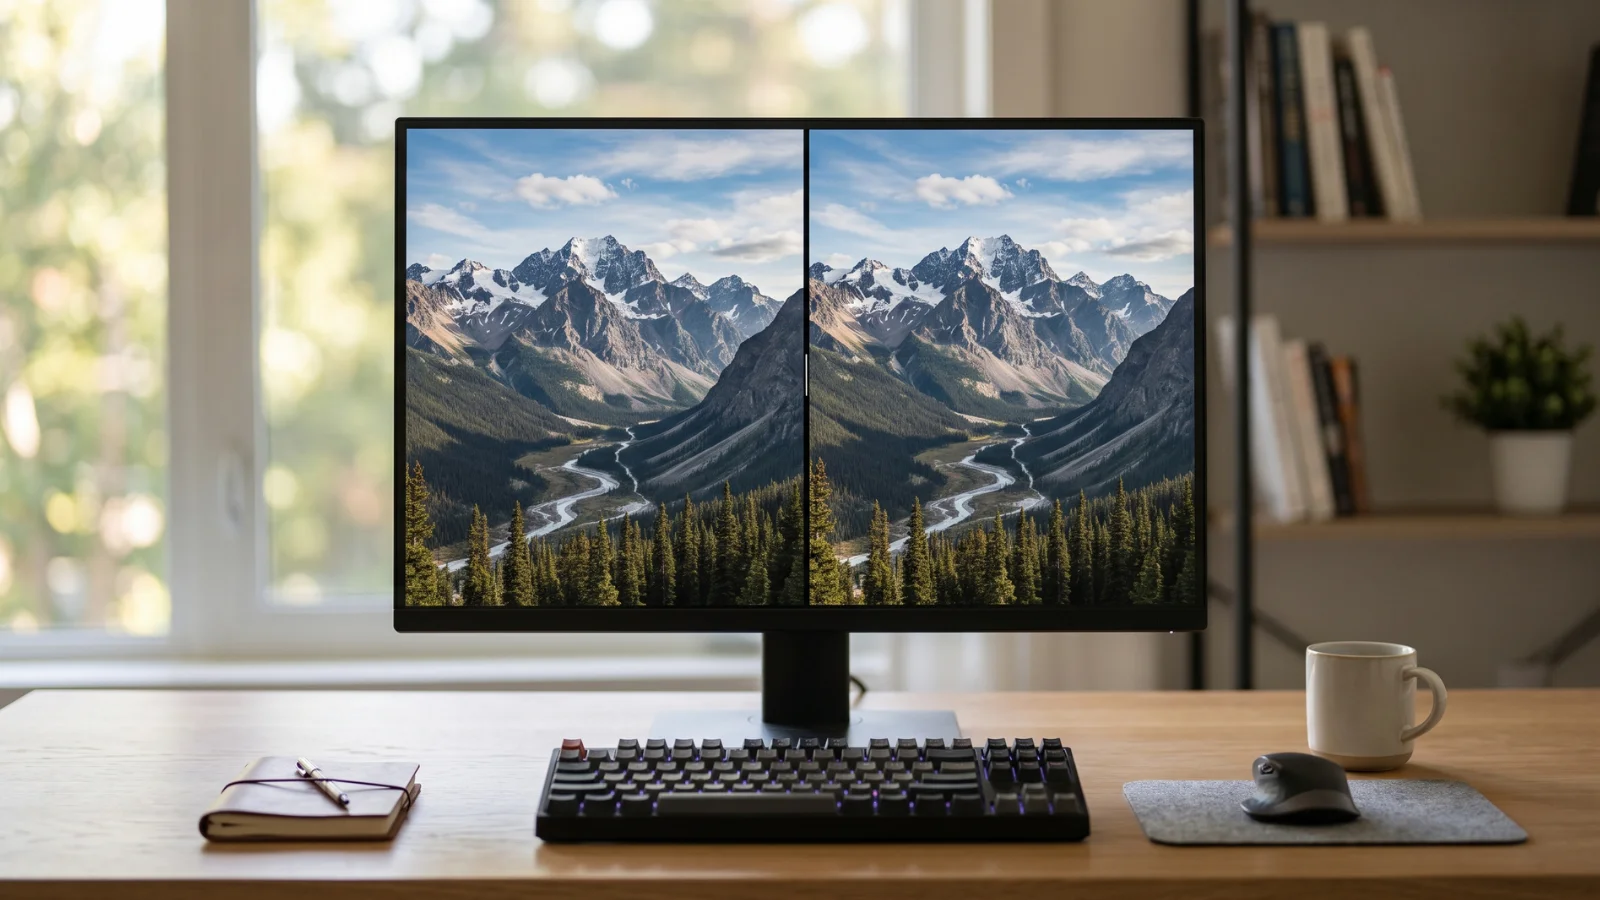 At high quality the JPG looks identical to the TIFF, at a fraction of the size.
The quality slider is where you control this. At around 85 to 95 percent quality, a photographic scan looks the same as the original to the naked eye, and the file is still far smaller than the TIFF. Drop below about 70 percent and you may start to see soft blocky patches in flat areas and faint halos around sharp edges, which is fine for a quick preview but not for a document you want to look clean.
There is one case where JPG is the wrong choice: a scan that is mostly crisp black text on white, like a typed page or a line drawing. JPG adds faint fuzz around hard edges, so text-heavy scans look slightly cleaner as PNG. For photographs, coloured artwork, and most real-world scans, JPG is the right call and the fuzz is invisible. Keep the TIFF if you need a perfect archival master; convert to JPG for everything you actually send.
How much smaller will the file be?
This is usually the whole point, so here is what to expect in practice. A TIFF is uncompressed, so a colour scan at 300 DPI on A4 might land around 25 megabytes. The same image as a high-quality JPG typically comes out between 1 and 3 megabytes, and a medium-quality JPG can drop under 500 kilobytes. That is often a 90 percent reduction or more, with no visible difference for a photo or a colour scan.
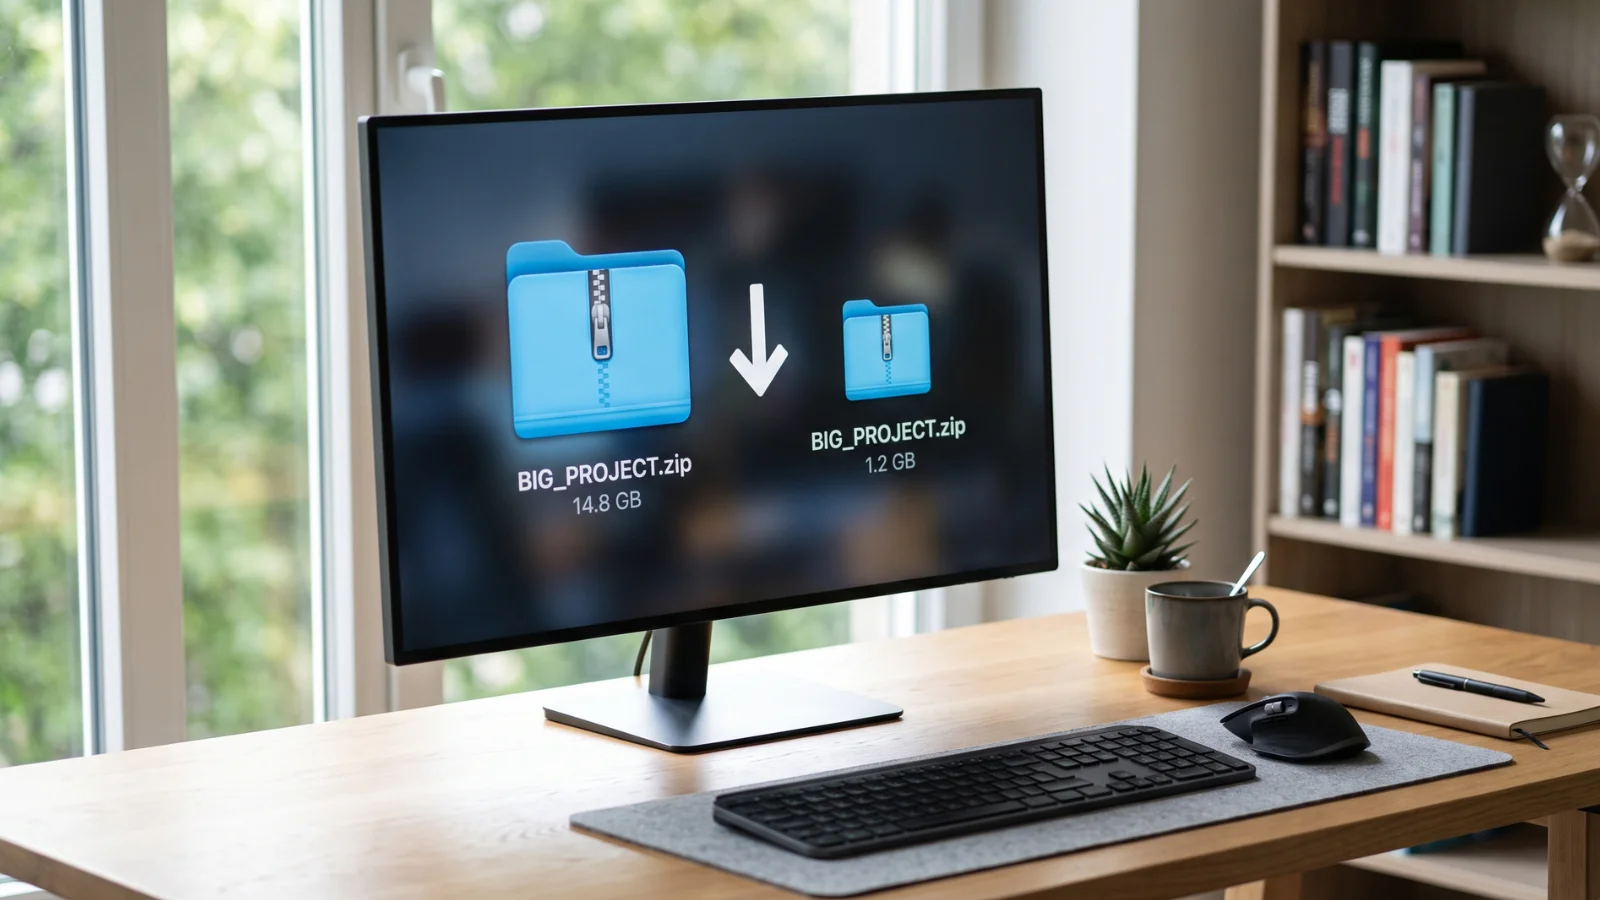 A 25 MB TIFF scan usually becomes a 1–3 MB JPG, small enough to email.
That size gap is why the conversion exists. Email attachments are capped, often at 25 megabytes total, so a single raw TIFF scan can blow the limit on its own. Upload forms reject large files. Cloud storage fills up. A JPG solves all of it at once. If you need the file even smaller for a specific limit, such as a portal that demands under 2 MB, convert to JPG first and then run it through a compress tool to hit the exact size.
How to convert a TIFF to JPG on any device
Here is how to do it with what you already have, alongside the browser tool. Each of these keeps the file on your device.
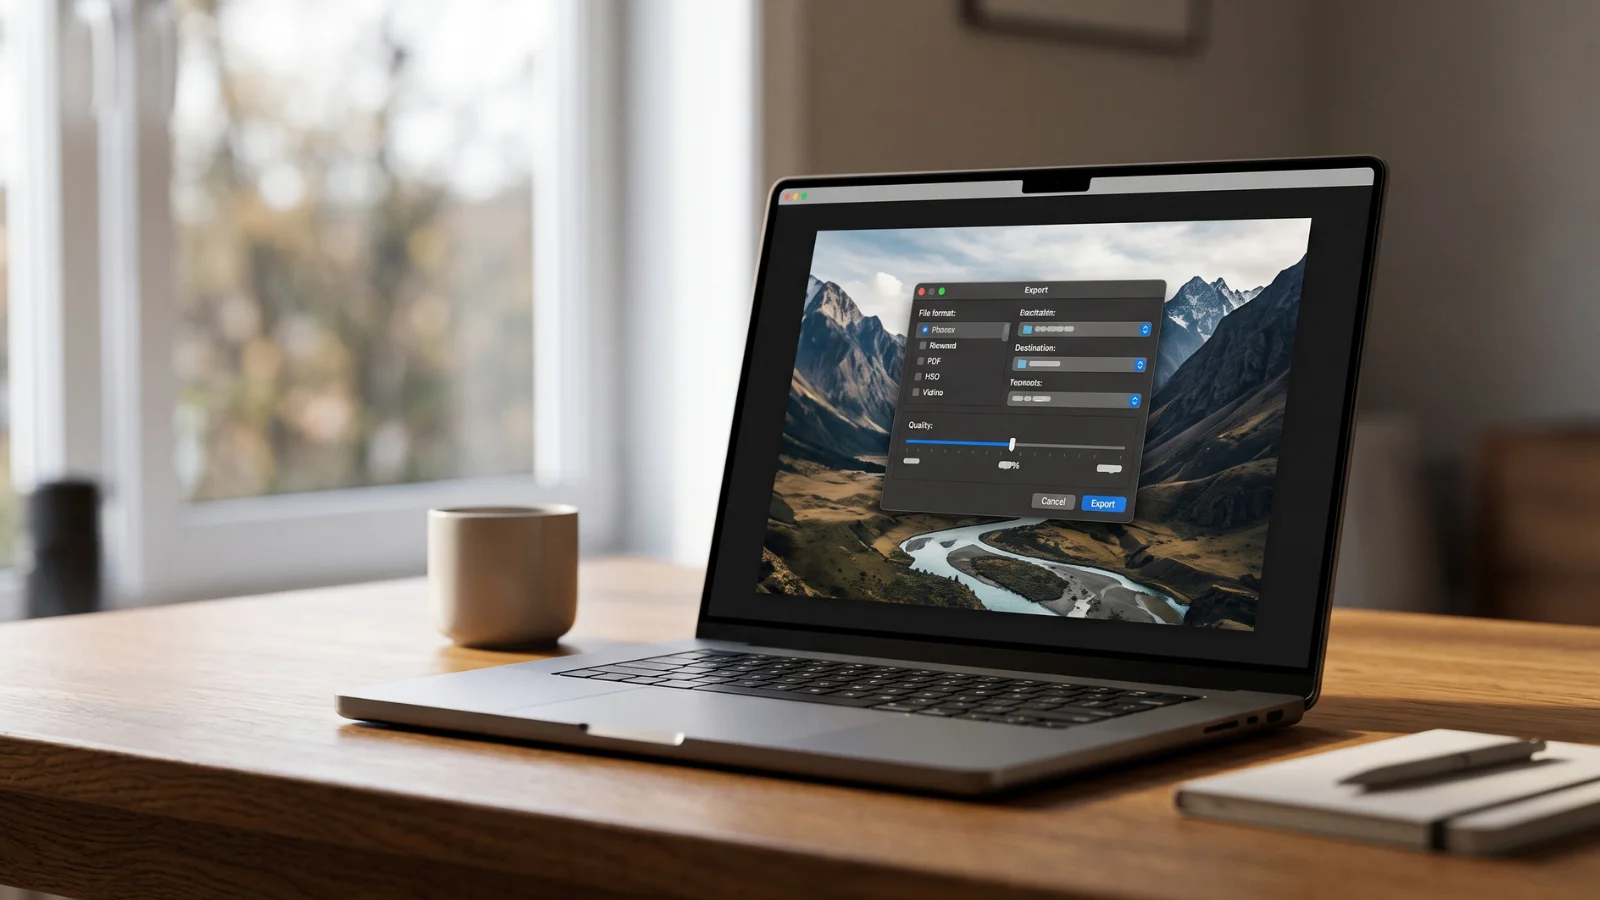 Mac Preview exports a TIFF to JPG and lets you set the quality before saving.
Browser (any device). The TIFF to JPG tool is the one I reach for, because it opens TIFF files a browser cannot display, lets you set the quality, converts a whole batch at once, and never uploads the file. It works the same in Chrome, Edge, Safari and Firefox, on a computer or a phone.
Windows. Open the TIFF in Paint (it handles most TIFF files even when the Photos app will not), then choose File, Save as, and pick JPEG. That bakes a JPG copy while keeping your original. For a folder of scans, the browser tool is faster because it does them all in one pass rather than one at a time.
Mac. Preview does this natively and does it well. Open the TIFF in Preview, choose File then Export, set the Format to JPEG, drag the Quality slider to taste, and save. Preview can also convert several at once: select the TIFFs in Finder, open them together, select all in the sidebar, and export the batch to JPEG.
iPhone and Android. Phones have no clean built-in TIFF-to-JPG export, and many will not even preview a TIFF you receive. The reliable route is to open the file in your phone browser and use the browser tool, which reads and converts the TIFF on the phone itself at full quality.
Photoshop and GIMP. If you already have an editor open, both read TIFF directly. In Photoshop, open the TIFF and use File, Save As or Export As, then choose JPEG and a quality level. In GIMP, open the TIFF and use File, Export As, type a .jpg filename, and set the quality in the dialog. Both give you full control, which is handy when you want to edit the scan before converting.
Converting a multi-page TIFF
Here is the edge case that catches people out. TIFF can store more than one page in a single file, and scanners often use this for multi-page documents, so one .tiff can contain a whole ten-page contract. JPG cannot do multiple pages: one JPG is one image. So converting a multi-page TIFF means deciding what you want out of it.
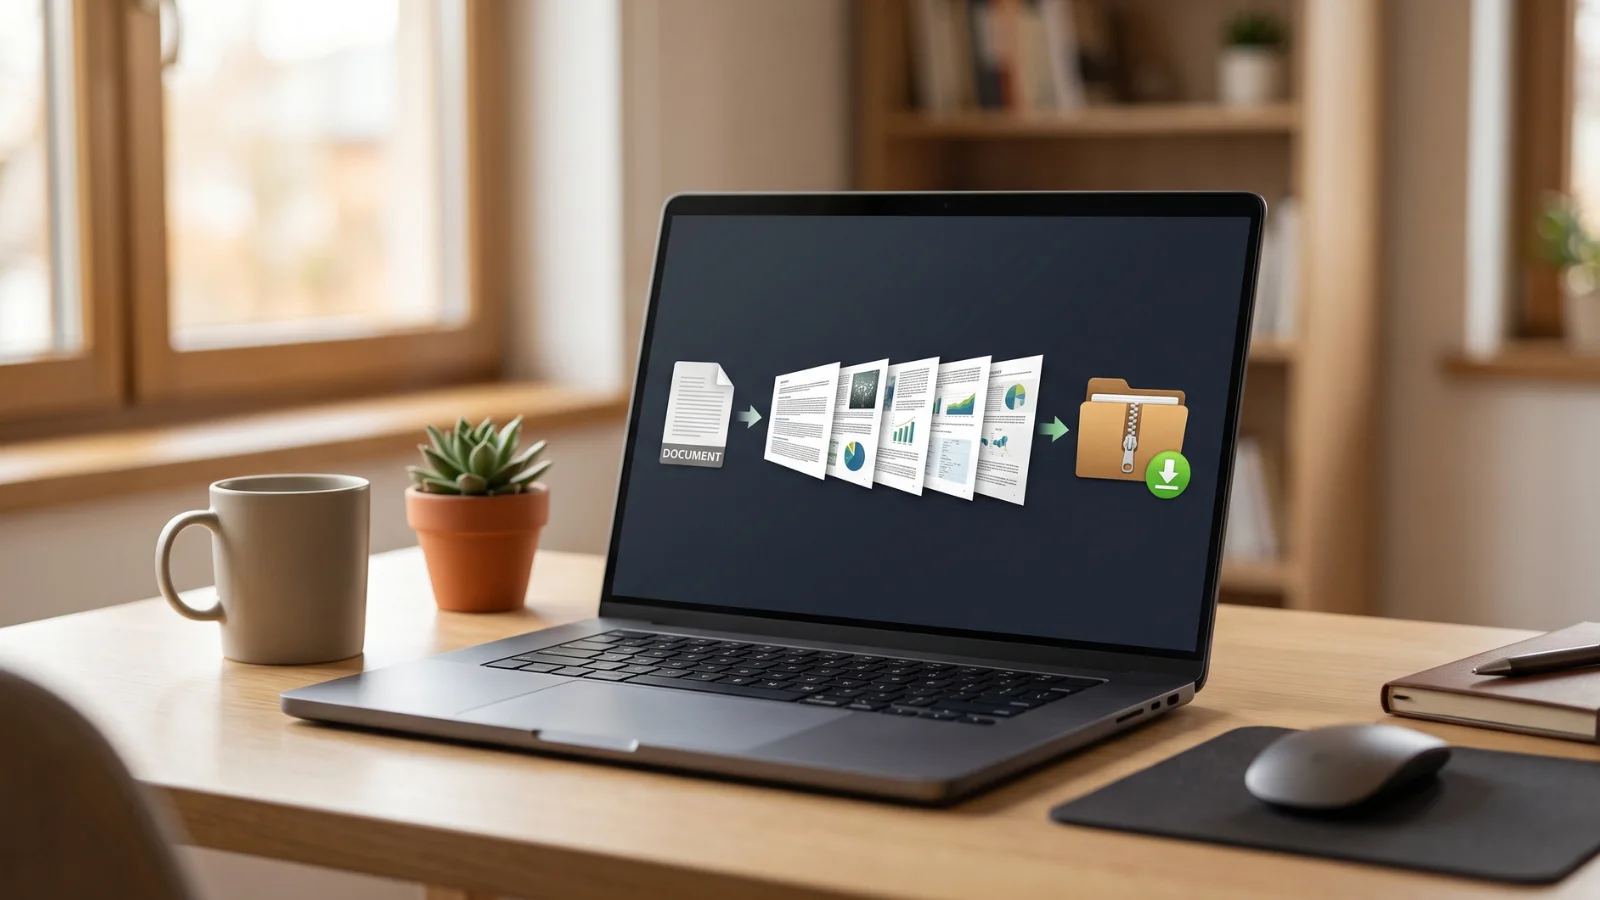 A multi-page TIFF becomes one JPG per page, which you can download together.
Usually you want each page as its own JPG, and a proper converter renders every page to a separate image so a ten-page TIFF gives you ten JPGs. Some simpler tools only convert the first page and quietly drop the rest, which is a nasty surprise if you needed page seven. If your multi-page scan came out as a single image, that is the cause, and the fix is a converter that outputs all pages.
If what you actually want is a document rather than a stack of images, convert the pages and then rebuild them into a single PDF with the image to PDF tool. That gives you a compact, shareable document with the pages in order, which is often what a multi-page scan was meant to be in the first place.
Convert a whole folder of scans at once
Converting one TIFF is easy. The real time-saver is a folder of them, which is the common case for anyone digitising paperwork, receipts, or a box of old photos.
You do not have to open and export each one by hand. Load the whole set into a batch-capable tool, let it convert every TIFF to JPG in one pass, and download them together as a single ZIP. A stack of fifty scans becomes fifty JPGs in one archive, named in order. On a Mac, Preview also batch-exports a selection. For a large or sensitive batch, the browser route has the edge because the scans are converted on your own device and never uploaded, so a folder of financial or medical documents stays private while you process it.
Keeping your scans private
It is worth saying plainly, because the documents people convert are so often confidential. Scans are contracts, invoices, pay slips, medical records, passports, signed forms. Most online TIFF converters upload that file to their servers to do the conversion, which means a copy of your document sits on someone else's machine, under terms you probably did not read, for as long as they choose to keep it.
A browser-based converter avoids all of that. The TIFF is opened and converted on your own device, and nothing is sent over the network. There is no server copy to leak and no account tying the scan to your name. For anything you would not hand to a stranger, that is the difference that matters, and it costs you nothing in speed or quality.
Common problems and quick fixes
A few things trip people up when converting TIFF to JPG. Here is how to sort each one.
The TIFF will not open at all. Your default viewer probably cannot handle that TIFF variant. Open it in Paint on Windows or Preview on a Mac, or just drop it straight into the browser tool, which reads TIFF files that other apps refuse.
Only the first page converted. Your TIFF is multi-page and the tool stopped at page one. Use a converter that renders every page, then download the full set.
The colours look washed out or too dark. The TIFF carried an embedded colour profile that the converter did not apply, which is rare but happens with professional print files. Open the file in Photoshop, convert it to the standard sRGB profile, and export the JPG from there.
The JPG still looks big. You converted at maximum quality. Lower the quality slider to around 80 percent, or run the result through a compress tool to hit a specific size. For a text-only scan, the file will also be smaller as PNG.
Text in the scan looks fuzzy. JPG adds faint halos around sharp black-on-white text. For a document that is mostly text or line art, convert to PNG instead, which keeps edges crisp. For photos and colour scans, JPG is fine.
The file is a .tif and the tool asks for .tiff (or vice versa). They are the same format. If a tool genuinely rejects one spelling, rename the extension from .tif to .tiff or back, and it will go through. A good converter accepts both without renaming.
Last word
Converting a TIFF to JPG turns a large, awkward file that only a few programs can open into a small one that works everywhere, and for a photo or a colour scan you lose nothing you can see. Keep the TIFF if you need an archival master, convert a JPG copy for sharing, and reach for PNG only when the scan is mostly text. Whether your file says .tif or .tiff makes no difference to any of this.
The quickest and most private route is a browser tool that reads the TIFF on your own device, handles multi-page scans and whole folders, and never uploads a thing. If you have a scan you need as a JPG right now, open the TIFF to JPG tool, drop it in, and download your image in a couple of clicks.