How to Blur or Replace the Background of a Photo (Free, No Photoshop)
Remove Background — free & instant
Cut out your subject in one click, then drop it on clean white, a brand colour or a blurred version — 100% private, no uploads.
A busy background can spoil an otherwise good photo: the cluttered room behind a product shot, the stranger walking through your holiday snap, the messy shelf behind your profile picture. You do not need Photoshop or a design course to fix it. This guide covers the two cleanest ways to deal with a distracting background without deleting your subject: blurring it so your subject stands out, or swapping it for a clean colour or a new scene. Both are free, and both take a few minutes.
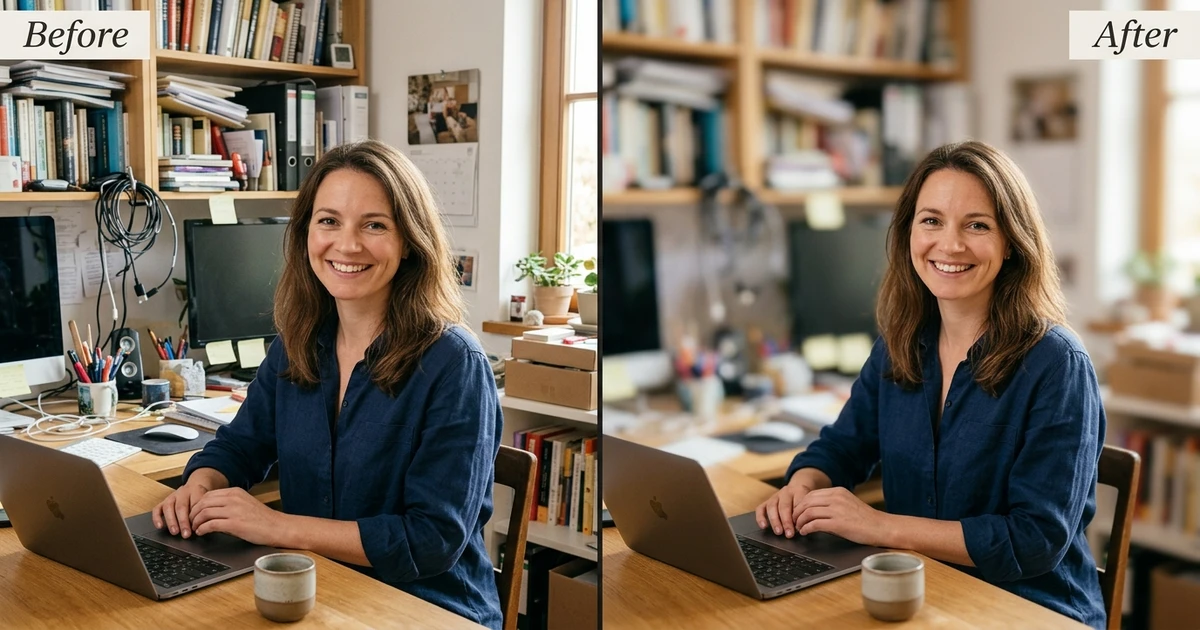 Blur the background to keep context, or replace it for full control.
Almost every background effect starts with the same step: separating your subject from the background. Our background remover does that part automatically, on your own device, with nothing uploaded. Once the subject is cut out, you can put it on anything, including a blurred copy of the original.
Blur, replace or remove: which one do you want?
These three get mixed up, so it helps to be clear about the difference before you start:
- Blur keeps the original background but softens it, so the eye lands on your subject. This is the "portrait mode" look phones made popular.
- Replace swaps the background for something else: plain white for a product listing, a brand colour for a thumbnail, or a whole new scene.
- Remove deletes the background entirely and leaves a transparent cutout, which is what you want for a logo or an overlay. If that is your goal, see our guide on how to remove the background from a photo.
Option 1: Blur the background
If you are shooting fresh, the easiest route is Portrait mode on an iPhone or Android phone, which blurs the background as you take the picture. For a photo you already have, the reliable method for any image is to separate the subject and blur what is behind it:
- Open the background remover and let it cut out your subject. Download the clean cutout.
- Take the original photo and apply a blur to the whole image using any free editor, including the built-in editors in Photos on iPhone or Google Photos.
- Place the sharp cutout back on top of the blurred version and export.
The result is a sharp subject against a soft background, with none of the detail of the original scene lost, since the context is still there, just gently out of focus.
Option 2: Replace the background completely
Replacing is the better choice when you want total control, and it is the standard for product photos and professional headshots:
- Remove the background to get a clean cutout of your subject.
- Pick a new background. Solid white is what marketplaces like Amazon and eBay expect; a brand colour keeps your social posts consistent; a new photo can change the setting entirely.
- Drop the cutout onto the new background and line it up, then export the finished image.
For an online shop, this one change makes a scrappy phone photo look like a catalogue shot. For a profile or team page, replacing mismatched backgrounds with the same colour makes a set of photos look like they belong together.
Do it without uploading your photos
You should not have to hand your pictures to a random website to edit them. Our background remover runs entirely in your browser, so your photo never leaves your device, there is no watermark, and there is no sign-up. That matters when the photo is of your family, your face or a product you have not launched yet.
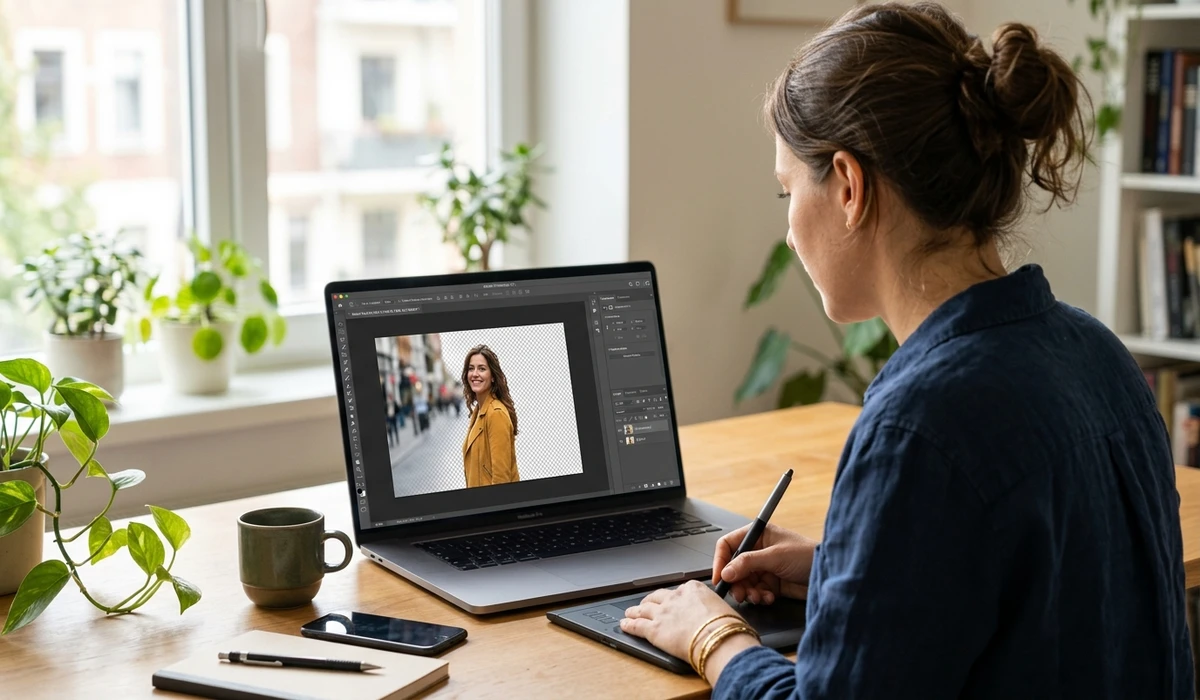 Cut out the subject in the browser, then blur or replace what is behind it.
Tips for a result that does not look fake
- Good contrast between the subject and the original background gives a cleaner cutout.
- Hair and fur edges are the hardest part. Our tool has a refinement step that tidies those fine edges, so use it on portraits and pets.
- When you replace a background, try to match the lighting direction, or the subject will look pasted on.
- Keep a copy of the original photo in case you want to start over.
For online sellers: keep every photo consistent
If you are listing products, the background is not only about looking tidy, it is about looking like a real shop. Marketplaces favour clean, consistent product images, and a row of listings that all sit on the same plain white background reads as far more professional than a mix of kitchen tables and carpet. The workflow is the same for each photo: cut out the item, drop it on the same white or brand-colour background, and export at the same size. Once you have done one, the rest go quickly, and the whole set suddenly looks like it belongs to a single store.
So, which should you choose?
Blur when you want to keep the sense of place but push the clutter out of focus. Replace when you need a specific, clean background, especially for selling or for a professional look. Remove when you need a transparent cutout to drop onto something else. All three start from the same cutout, so once you have separated your subject, you are free to try each one and keep the version you like best.