How to Resize an Image Without Losing Quality (Free)
Resize an Image — free & instant
Set an exact width and height, or scale by percentage, and download — right in your browser. Free, no upload, no sign-up.
Maybe an upload form wants a smaller file, a website needs your photo at an exact width, or a 6000-pixel picture is far bigger than anything you actually need. Whatever the reason, resizing an image is simple — but doing it without turning your photo into a blurry, stretched mess is where a lot of people come unstuck. This guide shows you how to resize any image to the exact size you need, keep it looking sharp, and do it free in your browser without uploading anything.
We will cover the fastest way, resizing by pixels or by percentage, how to keep the quality, and the one rule that decides whether your resized photo stays crisp or goes soft.
 Resizing an image to the exact width and height you need, right in the browser.
The fastest way: resize an image in your browser
This needs nothing installed and works the same on a phone or a laptop.
- Open the image resizer in any browser.
- Drop your photo in.
- Type the width and height you want — in pixels, or as a percentage of the original.
- Download the resized image.
It runs inside your browser, on your own device, so the photo is never uploaded. Turn your Wi-Fi off after the page loads and it still resizes, because the file never leaves your machine.
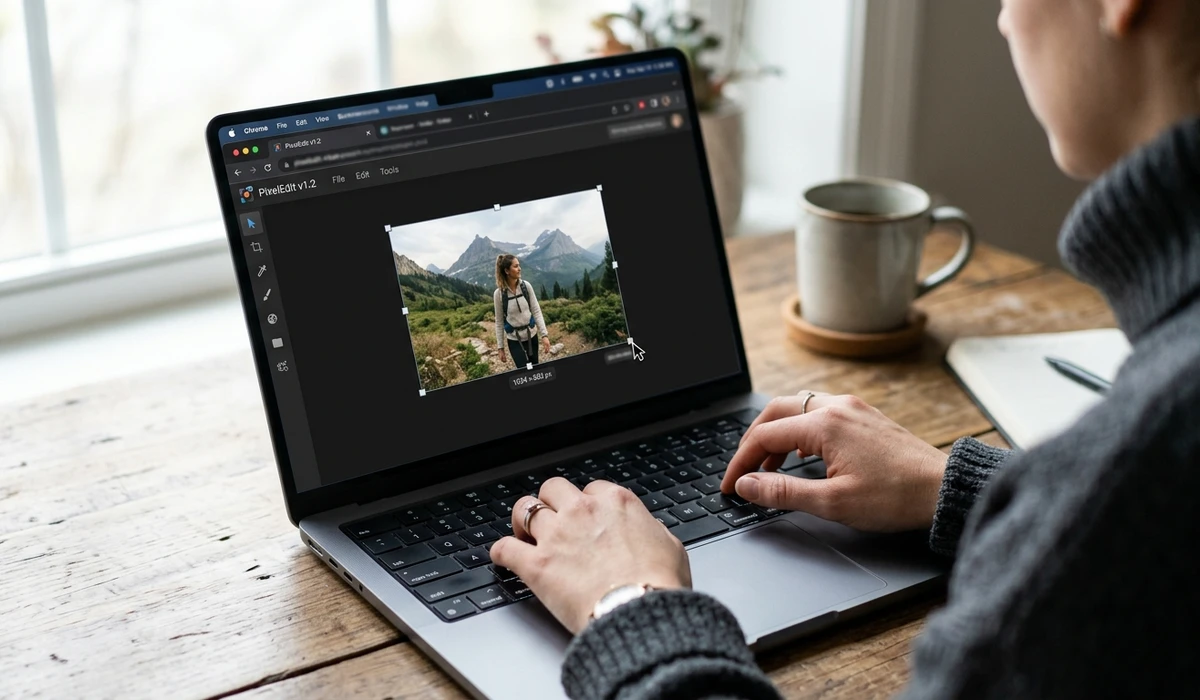 Enter the exact pixels you need, or scale by percentage — the aspect ratio stays locked.
Resize by pixels or by percentage
There are two ways to say how big you want the image, and each suits a different job.
By pixels is for when you have an exact target — a form that wants 600 by 600, a banner slot that is 1920 wide, a profile photo at 400 pixels. Type the numbers and you get precisely that.
By percentage is for when you just want it smaller — "half the size" or "40 percent" — without caring about the exact pixel count. It is the quick way to shrink a photo that is simply too large.
Keep the aspect ratio locked (most resizers do this by default) so the image scales evenly. Set only the width and the height follows automatically, and the photo keeps its proportions instead of looking stretched or squashed. Unlock it only when you deliberately need to force an odd shape.
The one rule for resizing without losing quality
Here is the thing that decides whether your resized photo stays sharp: shrinking is safe, enlarging is not.
When you make an image smaller, you are removing pixels the screen was never going to show anyway, so it stays crisp. When you make an image bigger than it was, the tool has to invent pixels that were never captured, and that is what makes an upscaled photo look soft and blocky. So always start from the largest version of the photo you have and size it down to what you need.
If you genuinely have to go the other way — a small image that must fill a big space — accept that some softness is unavoidable, keep the increase modest, and check the result at full size before you use it.
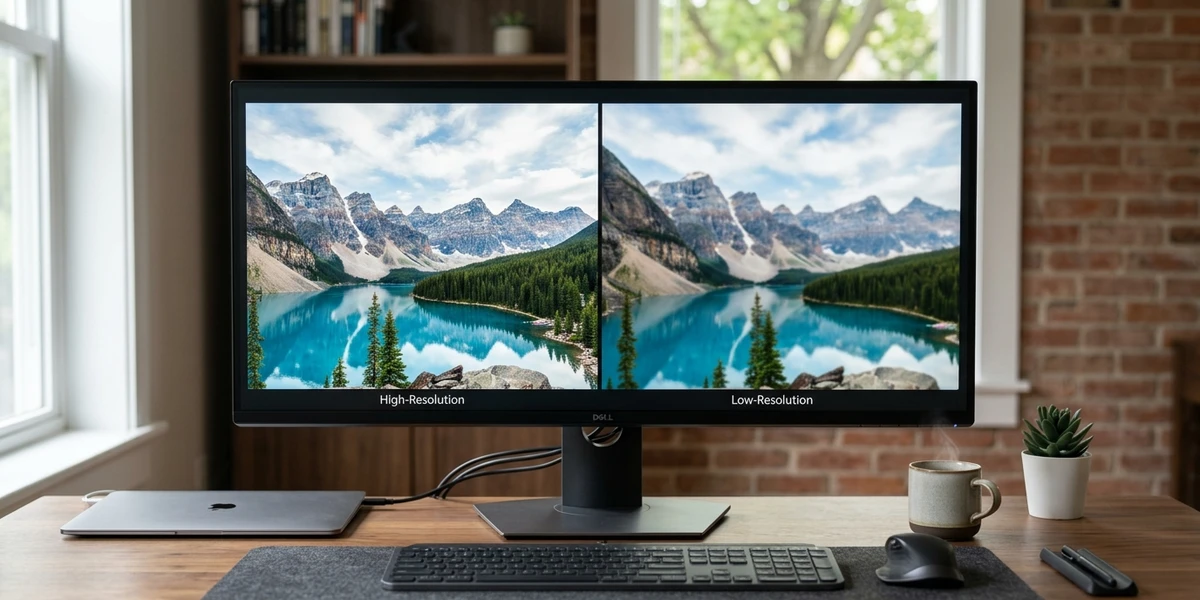 Resizing down keeps a photo crisp; enlarging past its original size makes it soft.
Sizes for the jobs people actually resize for
A few common targets, so you are not guessing:
- Profile picture / avatar: 400 to 800 pixels square.
- Website or blog image: 1200 to 1600 pixels wide.
- Full-width banner: 1920 pixels wide.
- Email or a quick share: 1000 to 1200 pixels on the long edge is plenty.
If your goal is not a size but a file weight — an upload that must be under a limit — resizing is only half the job. Resize to sensible dimensions first, then compress the image to hit the exact file size; there is a full walkthrough in the guide to getting an image under 100KB. And if you are sizing images for Instagram, X or LinkedIn, each platform has its own dimensions — the social media sizing guide lists them.
How to resize an image on any device
Browser, any device. The image resizer is the one I use — exact pixels or percentage, aspect ratio locked, and nothing uploaded. It works the same in Chrome, Edge, Safari and Firefox.
Windows. Paint can resize (Image, then Resize), but it works in percentages by default and the pixel option is fiddly. The browser tool is more precise.
Mac. Preview resizes cleanly: open the image, choose Tools then Adjust Size, and type the new dimensions. Good for one image at a time.
iPhone and Android. The built-in Photos apps crop but do not resize to an exact pixel size. Open the browser tool on the phone to hit a precise size. On an iPhone, if the photo is a HEIC, convert it to JPG first with the HEIC to JPG tool.
Common mistakes
Enlarging a small image. The number-one cause of blurry results. Start from the biggest original you have and only ever size down.
Unlocking the aspect ratio by accident. That is what stretches faces and makes a photo look wrong. Keep it locked unless you truly want a different shape.
Resizing when you actually needed to crop. Resizing changes the whole image's size; cropping cuts a piece out. If you want a square from a rectangle, crop it — do not squash it.
Forgetting to convert format for the web. If the resized image is for a website, saving it as WebP makes it noticeably smaller than JPG or PNG at the same quality.
Keeping your image private
Resizing is often the first step for personal photos — an ID for a form, a headshot, a family picture. Most online resizers upload every file to their servers. A browser-based resizer does the work on your own device and uploads nothing, so a private photo stays yours. For anything sensitive that is worth having, and it costs you nothing in speed.
Last word
Resizing an image well comes down to a simple habit: start from the biggest original, keep the aspect ratio locked, and size down to the exact width and height you need. Do that and the result stays sharp every time. If the goal is a file-size limit rather than a dimension, resize first and then compress.
When you have an image to resize right now, open the image resizer, drop it in, type your dimensions, and download it in a couple of clicks. It is free, it works on any device, and your photo never leaves the browser.