How to Rotate an Image (and Keep It From Flipping Back)
Rotate an Image — free & instant
Turn a photo the right way up or straighten a tilted shot, and download it saved in the new orientation. Free, in your browser, no upload.
You take a photo, and it shows up sideways or upside down. You rotate it — and the moment you upload it somewhere, it flips right back to wrong. Rotating an image should be the simplest thing in the world, yet a picture that will not stay the right way up is one of the most common small frustrations there is. This guide shows you how to rotate any image, why some photos stubbornly rotate back, and how to fix it so it stays put — free, in your browser, with nothing uploaded.
We will cover the quick rotate, the reason a photo reverts (it is not you doing it wrong), how to straighten a tilted shot, and how to do all of it on any device.
 Rotating a sideways photo the right way up — and making the change stick.
The fastest way: rotate an image in your browser
This needs nothing installed and works the same on a phone or a laptop.
- Open the rotate image tool in any browser.
- Drop your photo in.
- Rotate it 90 degrees left or right, flip it, or nudge it by a custom angle to straighten it.
- Download the rotated image.
It runs on your own device, so the photo is never uploaded, and — this is the important part — it re-saves the image already rotated, so the new orientation is baked in and cannot flip back. Turn your Wi-Fi off after the page loads and it still works, because nothing leaves your machine.
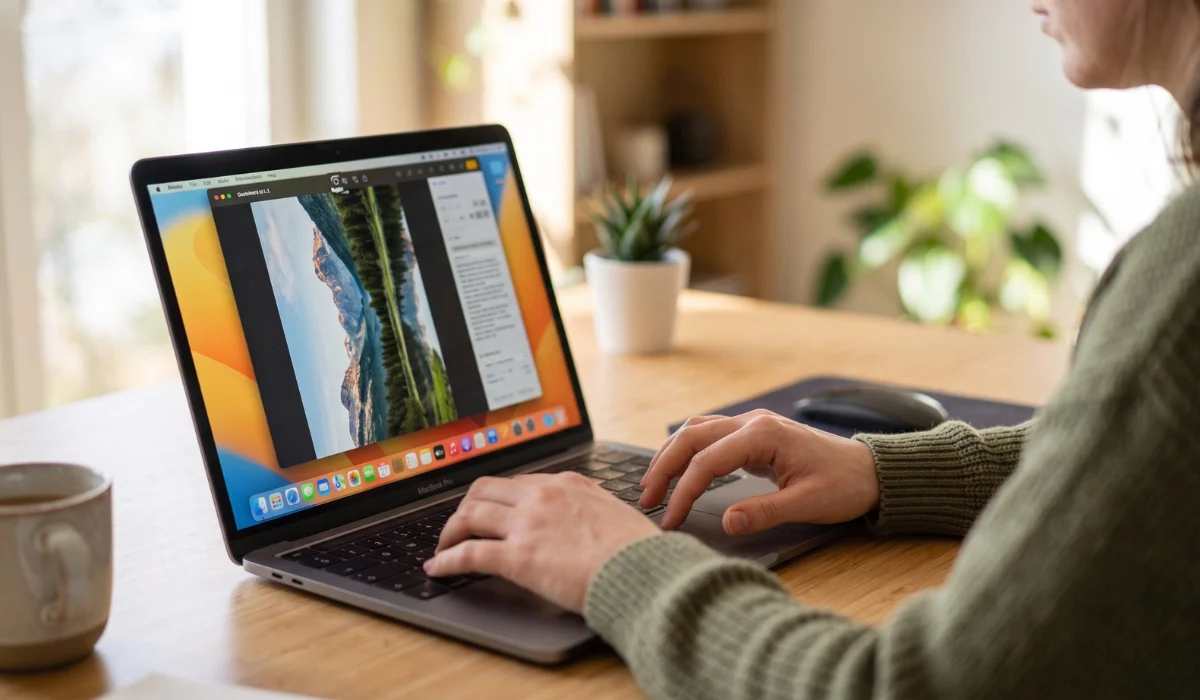 Rotate, then download — the new orientation is saved into the file, so it stays put.
Why your photo keeps rotating back (and how to stop it)
This one drives people mad, so here is what is actually happening. Modern cameras and phones do not always turn the photo the right way up. Instead they save it as-shot and add a hidden tag called EXIF orientation — a note that says "display this rotated 90 degrees." Your photo app reads that note and shows the picture upright, so it looks fine to you.
The problem comes when you send the file somewhere that ignores the note. An older upload form, some websites, certain printers and apps read only the raw pixels and skip the orientation tag — so your carefully rotated photo appears sideways again. It was never really rotated; only the note was.
The fix is to rotate the image in a way that rewrites the actual pixels and strips the orientation tag, so there is no note left to ignore. A browser tool that re-saves the file does exactly this: the picture is genuinely turned the right way up and re-encoded, so every app and form shows it correctly. That is the difference between a photo that stays rotated and one that keeps springing back.
 Some apps ignore the hidden orientation tag; re-saving the rotated pixels fixes it for good.
Straightening a tilted photo
Not every rotation is a full 90 degrees. Sometimes a photo is just a few degrees off — a horizon that slopes, a document photographed at a slight angle. For that you want a small custom rotation rather than a quarter turn.
Nudge the image by a degree or two until the horizon or the edges sit straight, then download. The tool trims the small triangles that appear at the corners so you get a clean, level image. A straight horizon or a squared-up document looks instantly more professional, and it takes a few seconds.
 A small custom angle levels a sloping horizon or a crooked document.
How to rotate an image on any device
Browser, any device. The rotate tool is the one I use, because it re-saves the rotated pixels so the change sticks everywhere, and it never uploads the file. It works the same in Chrome, Edge, Safari and Firefox.
Windows. The Photos app rotates and saves, and it usually rewrites the file properly. If a rotated photo still shows sideways elsewhere, run it through the browser tool to force the pixels and strip the orientation tag.
Mac. Preview rotates cleanly: open the image and use Tools then Rotate, or the rotate button, then save. It re-encodes the file, so the rotation holds.
iPhone and Android. The Photos app rotates within the app, but because iPhone photos are HEIC with an orientation tag, the rotation can be lost when you export or upload. Convert to JPG first with the HEIC to JPG tool, then rotate in the browser tool so it stays put.
Rotate versus flip
They sound similar but do different things. Rotating turns the whole image around — 90, 180, or a custom angle. Flipping mirrors it, swapping left and right (or top and bottom), which is what you want to un-mirror a selfie. If it is a mirror image you are fixing rather than a sideways one, the flip and mirror guide and the flip tool are what you need. To cut a piece out instead, use the crop tool.
Keeping your photo private
The photos people rotate are often personal — a document, an ID, a family picture. Most online tools upload your file to their servers to rotate it. A browser-based tool does the whole job on your own device and uploads nothing, so a private photo stays yours. It is the safe default for anything you would not hand to a stranger, and it costs you nothing.
Last word
Rotating an image is quick; making it stay rotated is the part people miss. A photo that flips back is not your mistake — it is a hidden orientation tag that some apps ignore. Use a tool that re-saves the rotated pixels and strips that tag, and your picture shows up the right way up everywhere, for good.
When you have a sideways or crooked photo to fix right now, open the rotate image tool, drop it in, turn it the right way up, and download it in a couple of clicks. It is free, it works on any device, and your photo never leaves the browser.